Overview
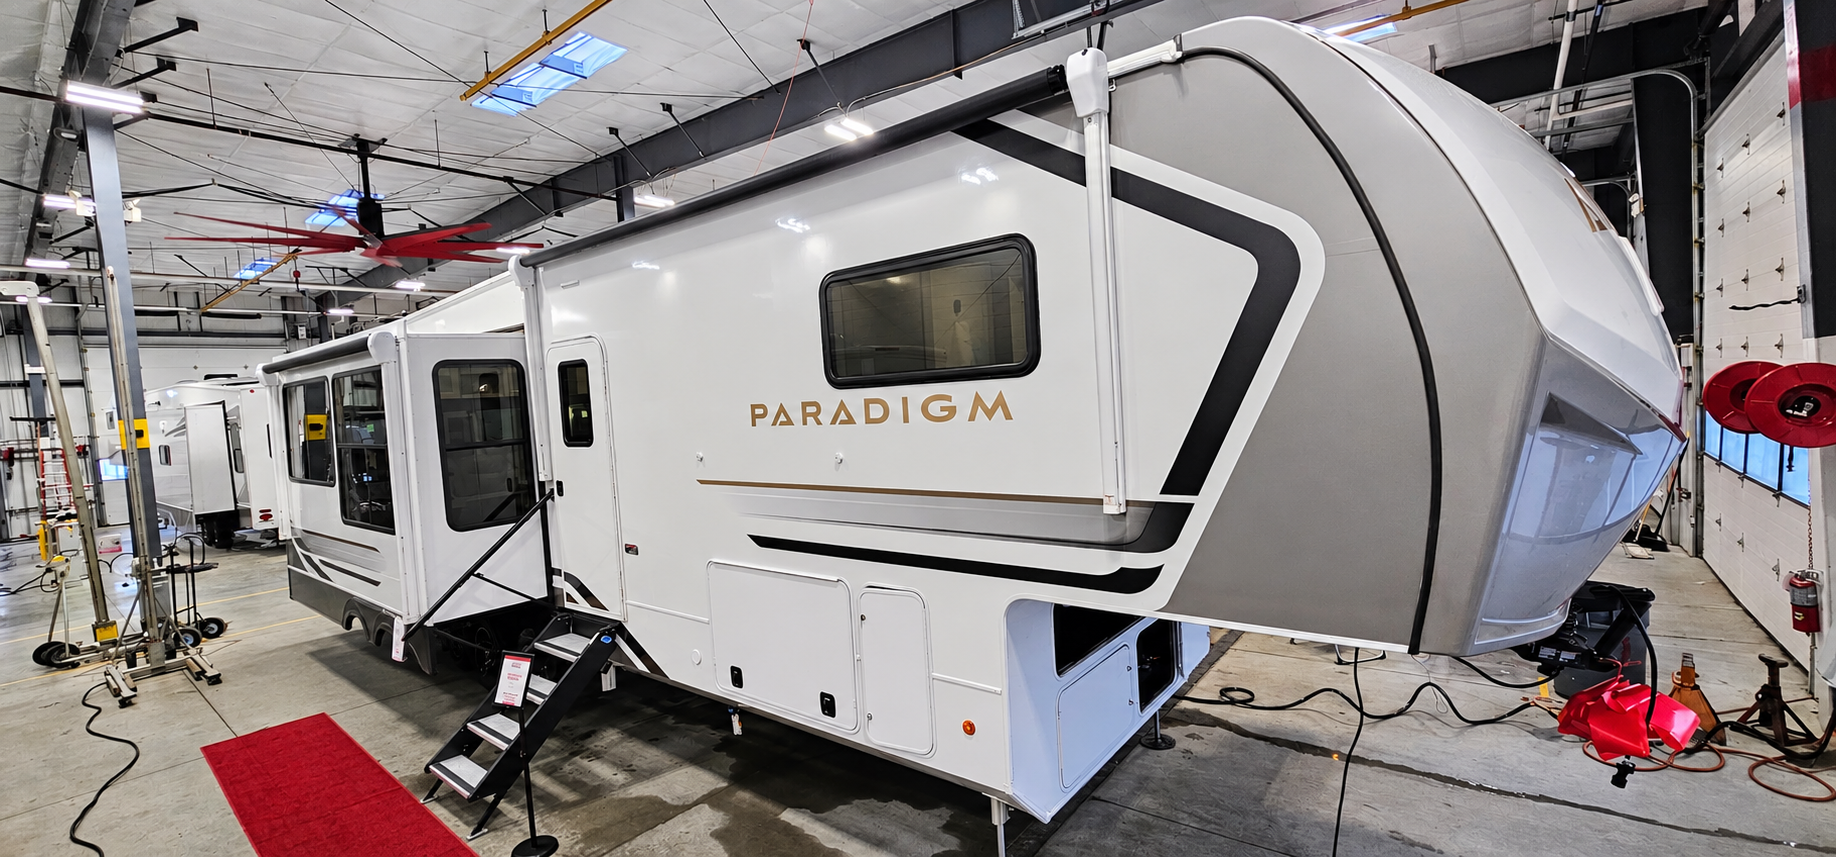
This is the pre-delivery inspection (PDI) checklist I used when I took delivery of my 2026 Alliance Paradigm 310RL. It's grouped by area so you can work through the rig in one loop instead of jumping around. Plan on two to four hours, bring a notebook or your phone for photos, and don't sign final paperwork until the dealer has written down everything you find.
Bring with you
- Outlet tester and a digital multimeter
- Infrared thermometer (fridge, water heater, AC vents)
- Flashlight or headlamp for under the rig
- Tire pressure gauge
- A dollar bill (for the fridge seal test)
- Your phone for photos and a running list of issues
Hitch and towing
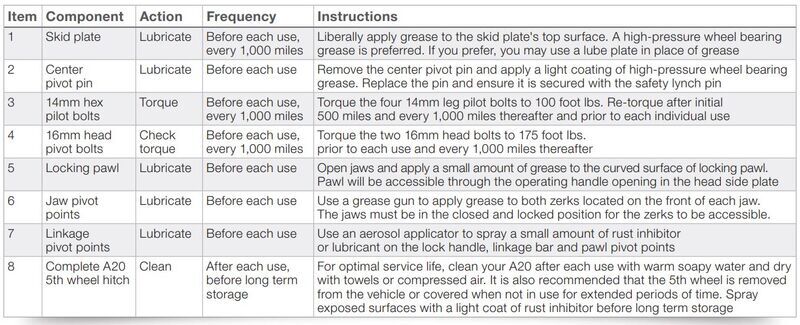
- ☐ Confirm the lube plate is on the kingpin
- ☐ Pin box (Helux, if equipped): inspect the internal coil spring for level alignment
- ☐ Truck hitch (Curt A20, if used): anchors tight in the truck pucks
- ☐ Verify 6 inches of bed-rail clearance
- ☐ Plug into the truck and test running lights, turn signals and brake lights
- ☐ Trailer brakes respond through the truck’s brake controller (set the gain)
- ☐ Breakaway switch and cable: cable attached to the truck, pin in place
- ☐ Check your truck for open recalls
Running gear
- ☐ Suspension (TCS, if equipped): check all 4 shocks for oil leaks or weeping
- ☐ Track bar and bump stops tight
- ☐ Suspension pivot points greased
- ☐ Brake lines and wires zip-tied away from moving parts
- ☐ Photograph the axle tag (serial number and rating)
- ☐ Check tire date codes (the 4-digit DOT code)
- ☐ Lug nuts torqued to spec; plan to re-torque after the first 50 miles
- ☐ Spare tire present, and learn how to access it
- ☐ Look at the wiring harnesses under the slides
Exterior and roof
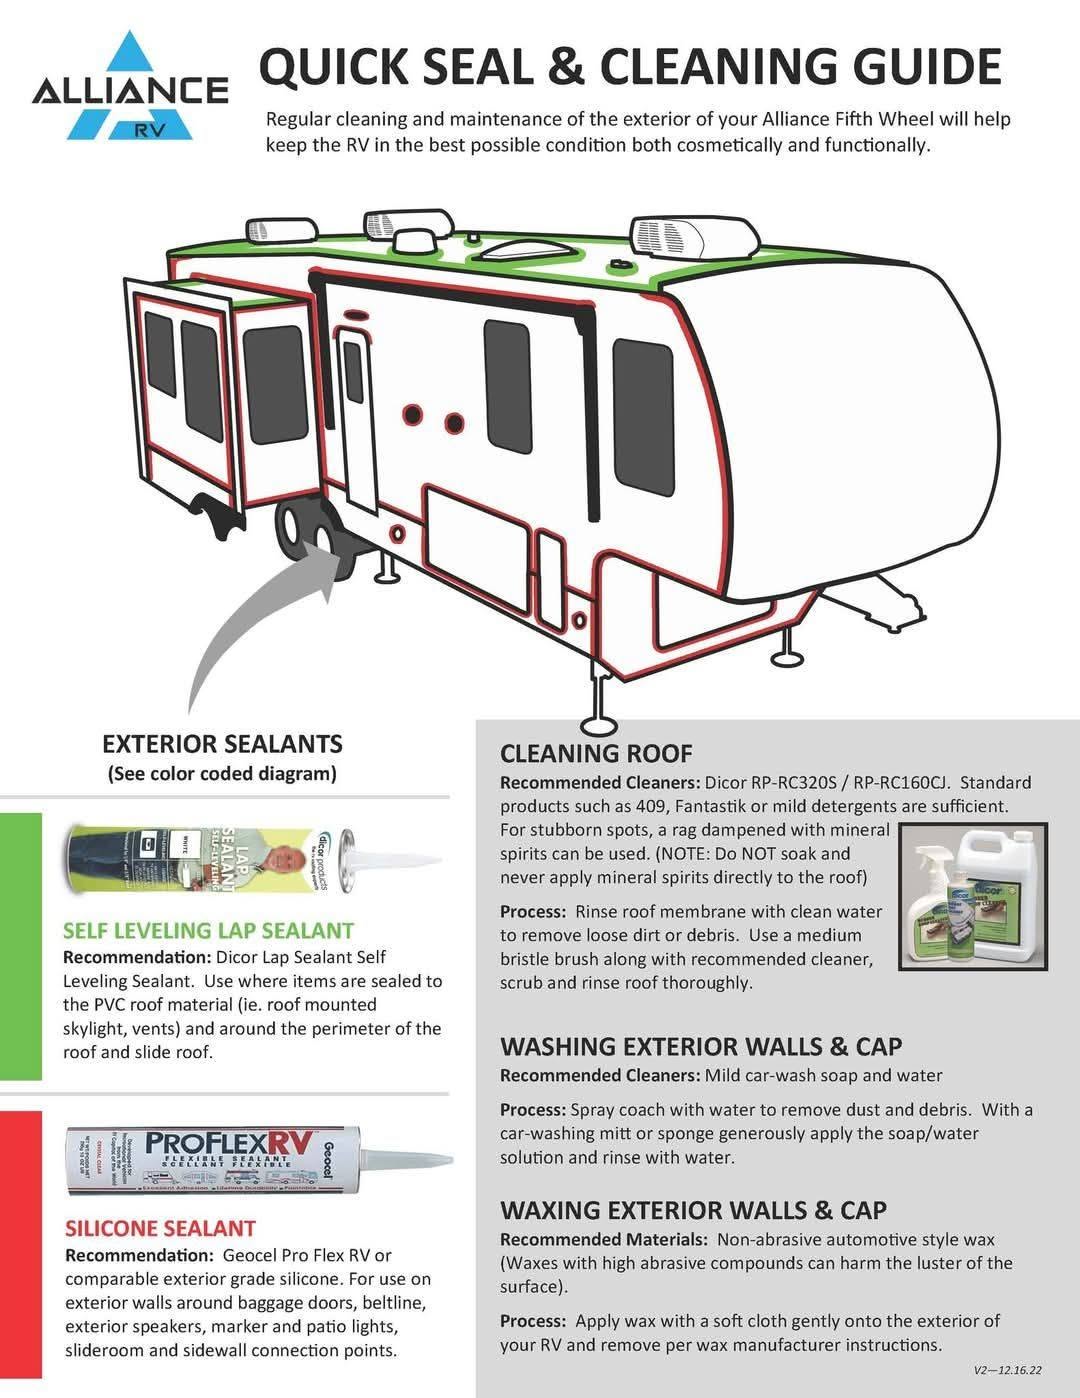
- ☐ Roof seals and lap sealant: look for gaps
- ☐ All outdoor caulking: peeling or gaps that could leak
- ☐ Slide-out wiper seals in and out; look for light gaps
- ☐ Every baggage door latch
- ☐ Outside shower hose(s) present
- ☐ LP quick disconnect for a BBQ: does the hose need a regulator?
- ☐ Awnings: full extend, partial extend, rain tilt, lights
Slides and leveling
Owners have reported flooring cut by the dining slide and slide floors that would not lie flat at delivery, so look closely here.
- ☐ Run every slide in and out several times and watch for even travel
- ☐ Look for loose screws on the floor after the slides move
- ☐ Run auto-level, then try manual operation
- ☐ Hydraulic rams: nicks or fluid leaks during auto-level
- ☐ Ask where the manual slide and leveling overrides are
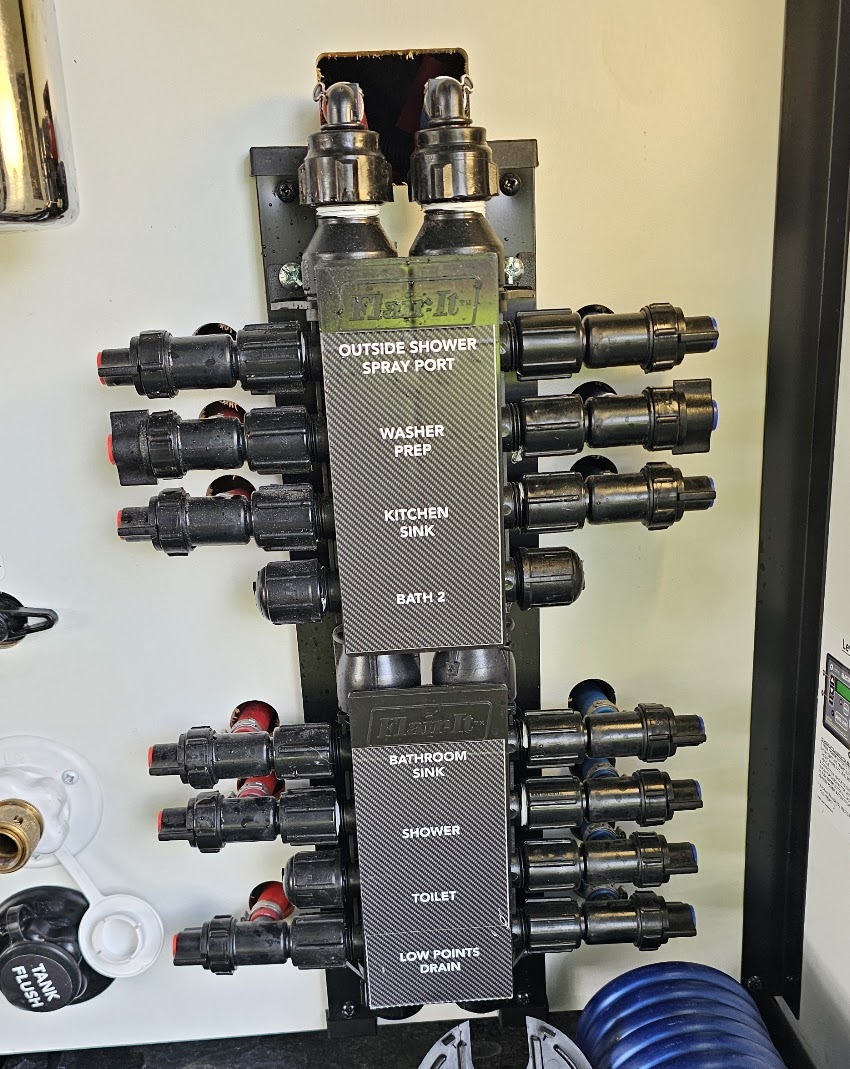
Water and plumbing
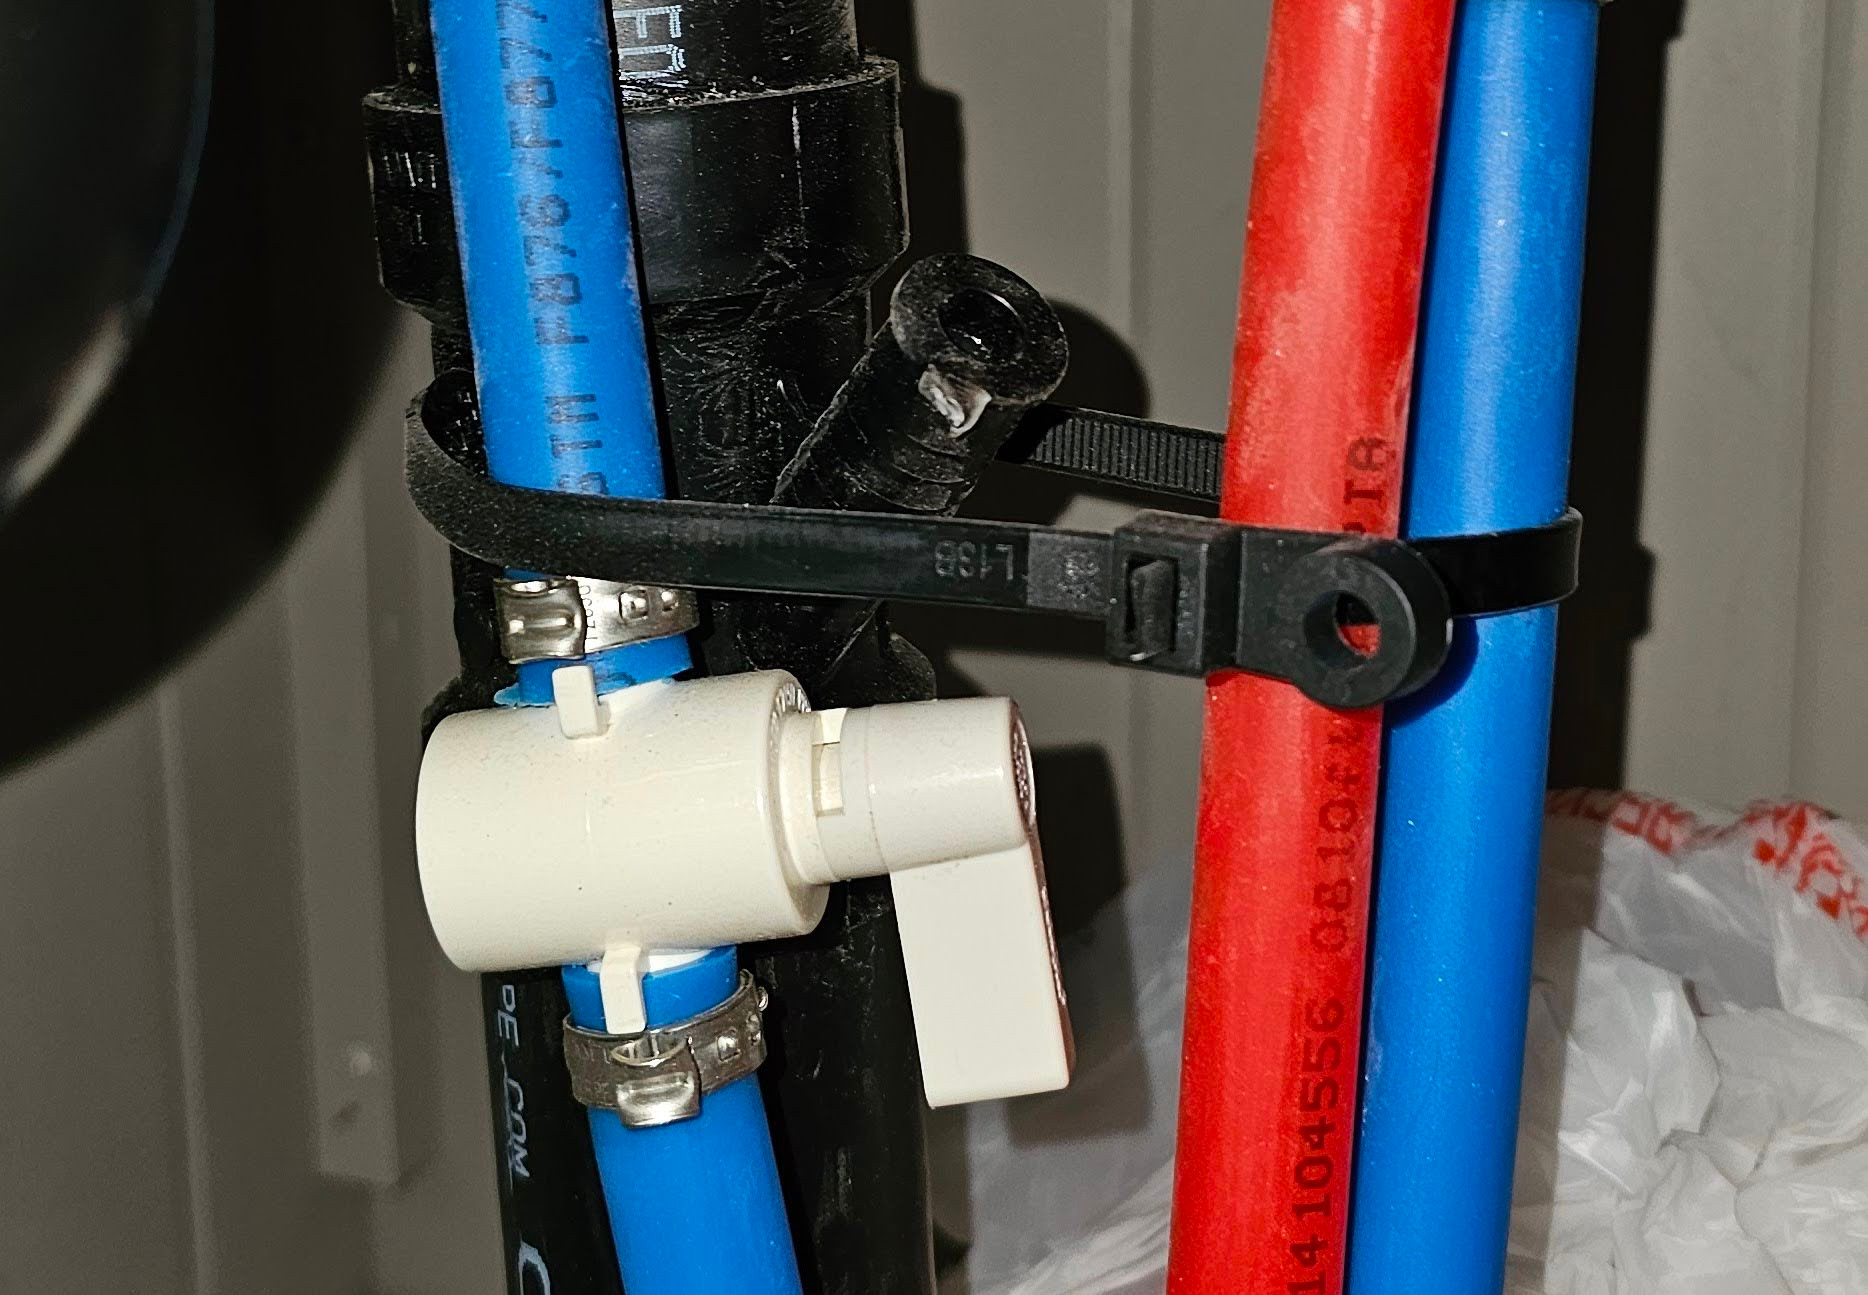
Run the shower long enough to see the gray tank and drains keep up. An owner reported shower water backing up into the underbelly on a first trip. See the 310RL Plumbing Guide for how the two gray tanks are set up.
- ☐ Docking station (water panel): no leaks under city-water pressure
- ☐ Fresh water fill and fresh tank overflow
- ☐ Run the pump; it should not cycle when all faucets are off
- ☐ Every faucet, hot and cold, on battery only (shore power disconnected)
- ☐ Feel for leaks under the island and the vanity
- ☐ Flush the toilet; it should hold its water seal
- ☐ Dump valves open and close
- ☐ Water heater runs on gas and on electric; find the drain
Power and electrical
- ☐ Switch between shore, battery and solar power
- ☐ Disconnect shore power and test lights, water pump, fridge, 12V and 120V devices on battery and inverter
- ☐ Learn how to monitor battery charge and discharge
- ☐ Inverter works; is there a GFCI outlet upstream?
- ☐ Identify the transfer switch
- ☐ Test every outlet and USB port
- ☐ All lights: on, off, dimming, accent lights, pantry lights
Appliances and climate
One buyer found no airflow from a bedroom vent at the PDI; check every register.
- ☐ Fridge: operation, freezer, ice maker, secured to the floor, runs with shore power off
- ☐ Fridge and freezer door seals: the dollar-bill test
- ☐ Stove and oven: all burners, oven, lights, exhaust fan
- ☐ Microwave and its packet: glass turntable, screens, instructions
- ☐ Each AC: fan only and compressor; filters in place
- ☐ Furnace
- ☐ Airflow from every vent
- ☐ Fireplace
- ☐ Exhaust fans
- ☐ TVs, stereo (living room and bathroom) and speakers
Interior fit and finish
- ☐ Open and close every cabinet and drawer; check fit and finish
- ☐ Every interior door (2, plus the closet)
- ☐ Open and close every window
- ☐ Day/night shades and blinds, every one
- ☐ Countertops: lift on them to check they are secured
- ☐ Wood trim joints
- ☐ Table is stable and works; dining chairs unfold
- ☐ Couch unfolds and is secured to the floor
- ☐ Recliners operate and are secured to the floor
Safety and paperwork
- ☐ Smoke and carbon monoxide detectors
- ☐ LP leak detector: test button works
- ☐ Fire extinguisher present, charged and mounted
- ☐ Emergency exit window opens and latches
- ☐ LP tanks full; regulator and changeover work
- ☐ Confirm actual cargo carrying capacity (yellow sticker)
- ☐ Get Alliance factory tech-support contact information
After the walkthrough
Get every open item in writing with a repair date before you leave. Keep your photos; they help with warranty claims later.